For the calibration the user must prepare set of measurement points (for the station available points are marked on special label with X-Y-Z coordinates) and the robot program with corresponding points set with measurement devices, for example measuring spike.
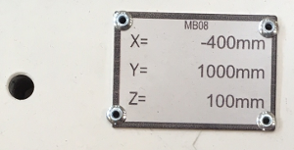
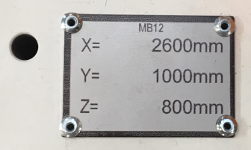
Labels with X-Y-Z measurement point coordinates
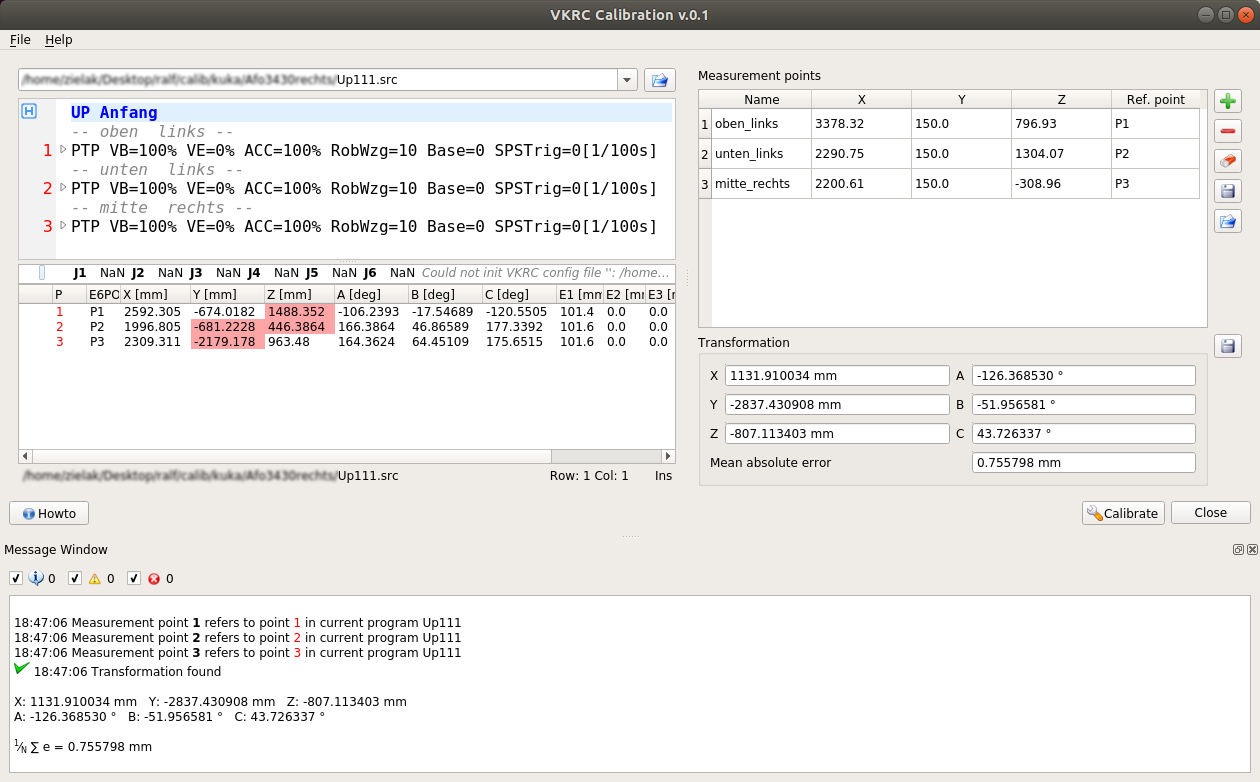
The robot program should be opened on the left side in VKRC program viewer and all measurement points added to the table on the right side.
For each measurement point in the table the user should select corresponding point in the robot program.
For the calculation the user must select at least 3 points.
The measurement points can be loaded from an external text file in the following format:
		oben_links   3378.32    150.0   796.93
		unten_links  2290.75    150.0   1304.07
		mitte_rechts 2200.61    150.0   -308.96
		P4           1205.536   650.83  1146.017
The user can use context menu on measurement points table to assign and clear reference points.
The double click on the last item shows a list with all available measurements points to assign.

After calculation the result is shown in transformation box with mean absolute error.
The values X-Y-Z and A-B-C are the correct KUKA robot base.
The calculation error should be as small as possible.
After calculation the user can export all informations to useful measurement report.
The values can be copied to the clipboard as plain text.
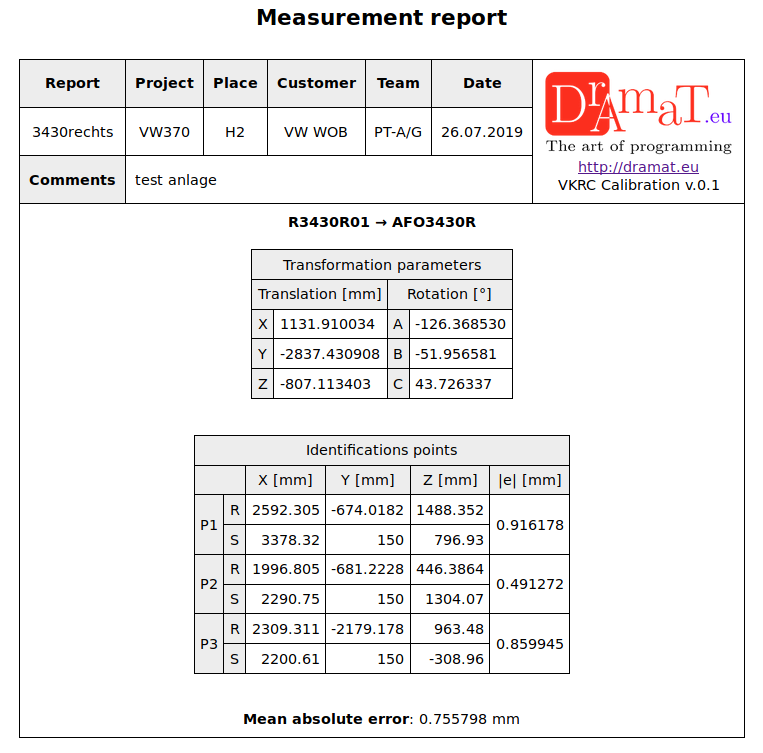
The report contains informations about robot and station and all measurement and reference points used for the calibration calculation.
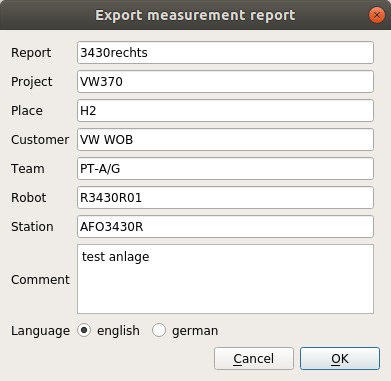
In the figure below you can see an options panel used to customize measurement report.
In the figure below you can see an example measurement report.
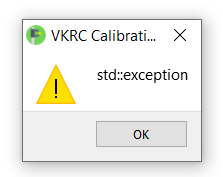
If the reference points are assigned to measurement points in wrong order and the calculation could not be processed an error message will be shown.
