
The Robot Cell Simulator opens a complete robot cell in 3D – layout, components, robots and their tools – together with the original robot programs from the robot archives (VKRC / KRC, VW standard). The robots can be moved by hand, single programs or the whole cell can be simulated with a motion planner, tools are changed automatically at the docking stations and the work zones of the robots show where the robots share space and whether those areas are protected by interlocks.
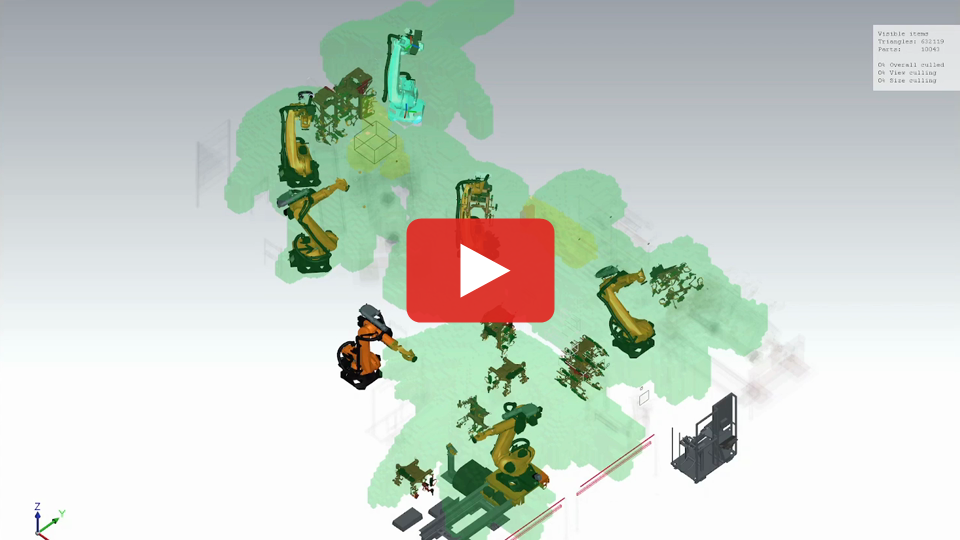
 DReS Robot Cell Simulator - Motion Planner, Work Zones and Interlocks in a Robot Cell (YouTube, English)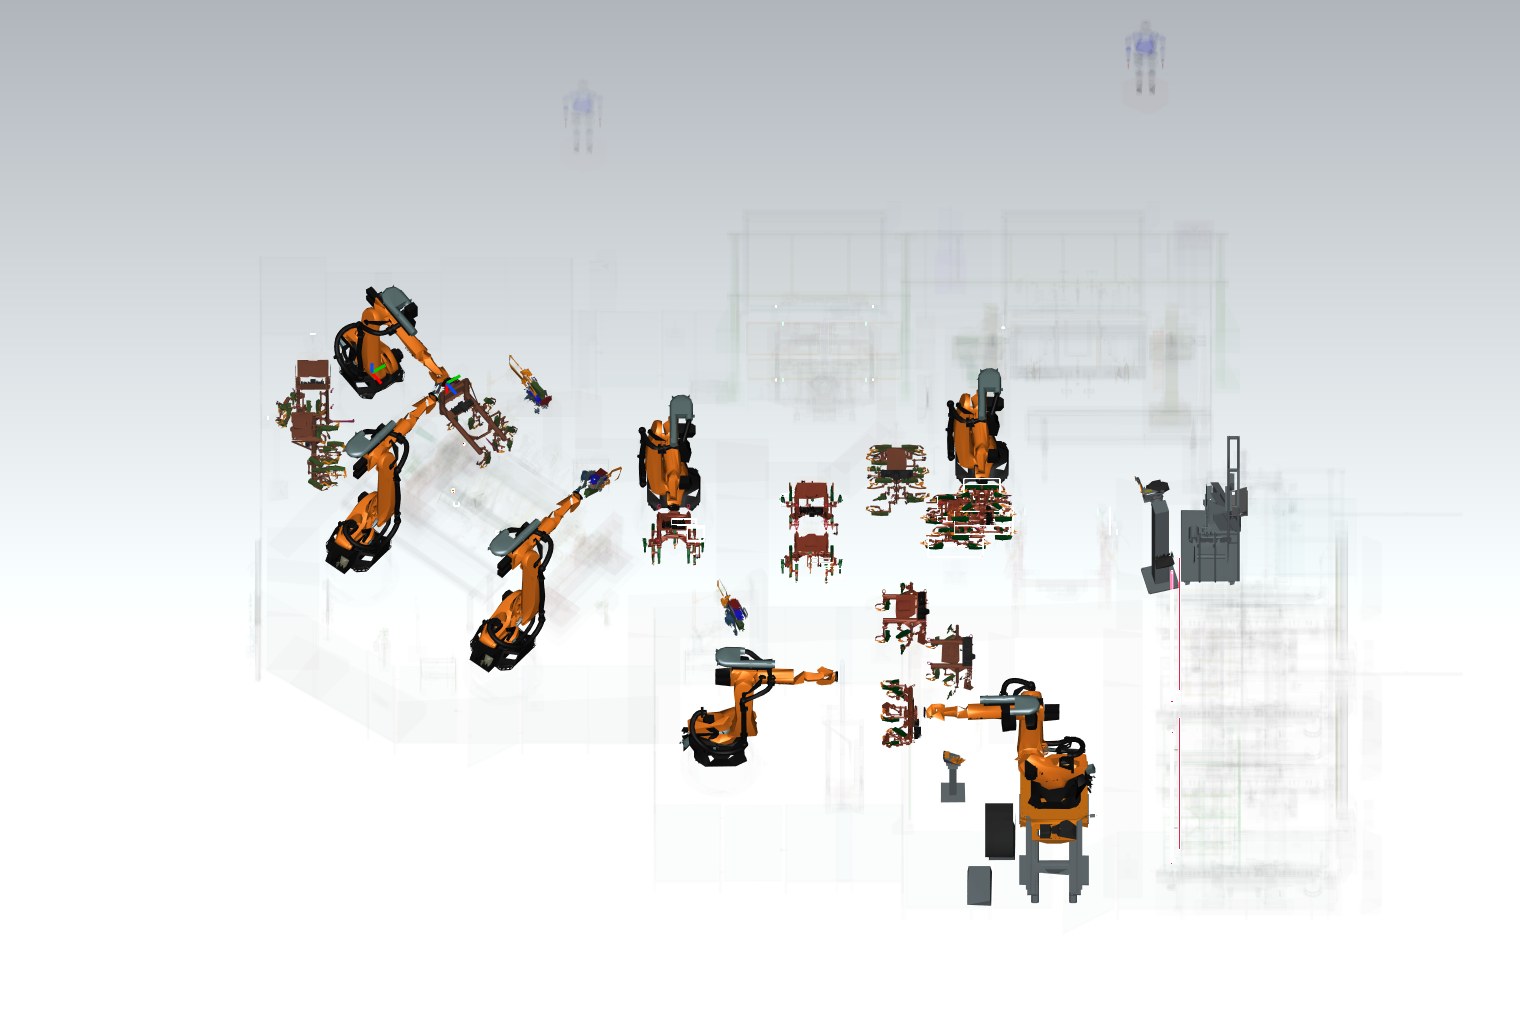
Contents
Getting started | requirements, first configuration, wizard, opening a cell, session file, the main window |
| 3D view and settings | toolbar, camera, transparency, culling, level of detail, screenshots |
| Robots, tools and jog | model browser, attaching tools, moving the axes, Cartesian jog |
| Programs and paths | program tree, drawing paths, single program run, breakpoints, Touch up, point in the editor |
| Cell simulation | run on all robots, program flow, motion planner, motion times |
| Auto-Docking | automatic tool change at the docking stations, tool change rules (XML) |
| Work zones and collisions | work zones, entries without interlock, collision matrix, path in interlock colors, automatic insertion of interlocks |
| Licenses | modules of the plugin and what each license unlocks |
| GPU and limitations | graphics card settings, memory, limits, typical messages |
| Robot Cell Simulator Lite | light version: top view of the cell without 3D models, reach, TCP areas and shared areas |
Quick start
- Open the plugin: Plugins → Robot Cell Simulator (the light 2D version: Plugins → Robot Cell Simulator Lite).
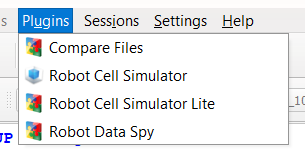 Plugins menu: single plugins first, sub menus of plugin groups at the end
 - Set the library of components (Tools → Set Client System Root) and the folder with the robot archives (Tools → Set Robots Archive Files) – or use File → Wizard. See Getting started.
- Open the cell study (*.psz or StandaloneStudy_PsState.xml) and select the components to load.
- Click a robot in the Model Browser: its programs appear in the Programs panel. Click the eye icon of a program to draw its path, press ▶ to run it.
- Run a program on all robots in the Simulation tab, calculate the work zones in the Work Zones tab and open the Collision matrix.
Licenses
The basic license opens cells, moves robots and runs single programs. The simulation of the whole cell (motion planner, run on all robots, Auto-Docking) and the work zones of all robots with the collision matrix are separate modules – see Licenses. The current status is shown in Help → Licenses... and by a lock icon on the tabs of modules without a license.